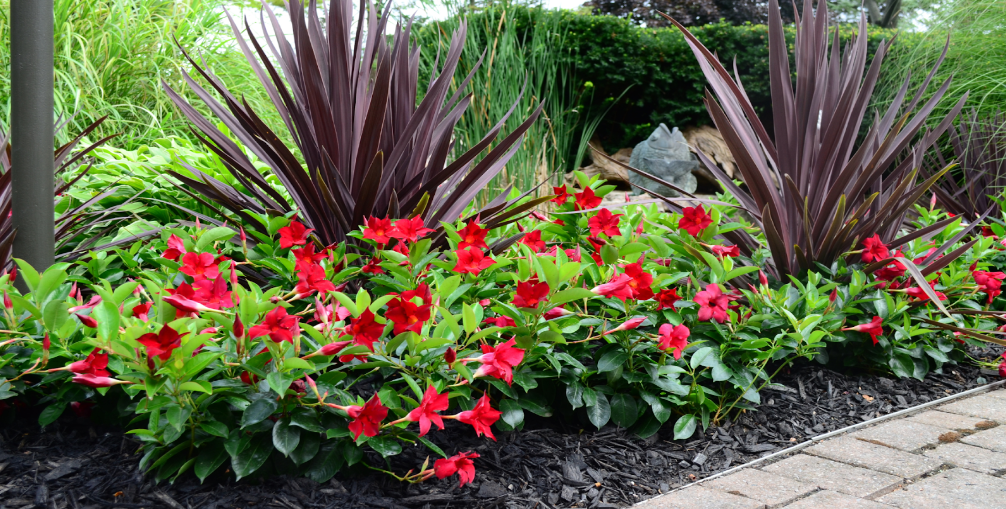
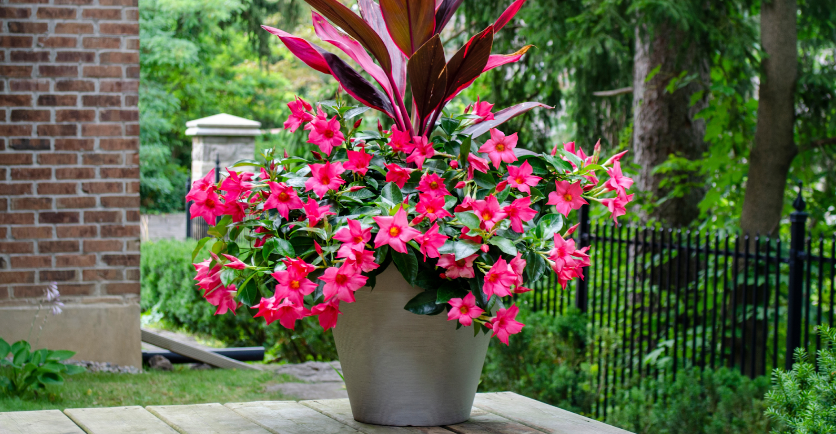
Welcoming Rio Dipladenias into your garden is like inviting a burst of the tropics into your outdoor space. Known for their stunning trumpet-shaped blooms and lush foliage, Rio Dipladenias are a dream come true for gardeners seeking to add vibrant color and effortless beauty to their outdoor spaces. These hardy plants not only captivate with their visual appeal but also enchant with their resilience and adaptability. Rio Dipladenias are the ideal plant for veteran and new gardeners.
How To Plant Rio Dipladenias in a Garden Bed
In warmer climates (USDA zones 9-12) Rios can behave more like annual plants. In cooler climates, they will thrive from early Spring through to late Fall but will not survive a freeze. Your Rios will thrive in bright sunny spots in your garden. It’s optimal to make sure that your Rios are planted in a spot that receives at least 4 hours of direct sunlight. More sun means more blooms! When it comes to watering your Rios, you should allow the soil to dry between waterings. If you’re not sure if you should water your Rios, it’s better to wait. Rios can handle drought, but they aren’t fans of soggy roots.

Step-by-Step to Planting Rio Dipladenias in Garden Beds:
-
Soil Prep:
Amend your garden soil with compost to improve fertility and drainage. Rio Dipladenias thrive in well-draining conditions to prevent root rot.
Planting Techniques:
Dig a hole about twice as wide as the root ball and ensure the plant is seated at the same level it was in its pot. Arrange plants 8” to 12” / 20 to 30 cm apart. Water thoroughly after planting to settle the soil and eliminate air pockets.
How to Plant Rio Dipladenias in Containers and Planters
Growing Rio Dipladenias in planters not only allows for control over the growing conditions but also offers an opportunity to bring tropical elegance to patios, balconies, or any outdoor space. Planting Rios in containers is optimal for gardeners located in cooler climates that experience frost. This is because planting Rios in containers makes it easier to bring them indoors over the winter. Just like when planting Rios in the garden, you’ll want to make sure you place any containers with Rios in areas that get at least 4 hours of sun (remember, more sun means more blooms!). You will also still want to allow the soil to dry out a bit between watering. Remember that Rios can handle drought conditions, but don’t like soggy roots. It’s important to choose a large container that has drainage for your Rios.

Step-by-Step to Planting Rio Depladenias in Containers:
-
Container Prep:
Fill your chosen pot with a high-quality, well-draining potting mix. Choosing a potting mix over gardening soil will help extra water drain through the container and encourage healthy root growth.
Planting Techniques:
Carefully remove the Rio Dipladenia from its current container and use your hands to gently free the bottom roots from any soil that has been compacted around them. Plant Rios at the same depth as the pot.
Rio Dipladenias Winter Care Tips
In cooler zones, bring your Rio Dipladenias indoors before the first frost. Place them in a bright, sunny spot and reduce watering to mimic their natural dormant period. This rest phase is crucial for next season’s growth. Do not fertilize during winter as dipladenias’ natural rest period lasts from October to April. Note, if you bring your Rio planter indoors over the winter, they will not bloom during this period.
To Sum Up
Embracing Rio Dipladenias in your garden or home is more than just planting a flower; it’s about inviting a slice of tropical paradise into your life. These versatile, hardy plants offer endless possibilities for beautification and enjoyment. As you prepare for the planting season, consider the unique charm and effortless elegance of Rio Dipladenias. Let them transform your garden into a vibrant sanctuary of color and life.
Happy gardening!
